
Retaining Wall Installation: What Happens Before the First Block
Walls don't usually fail in August. They fail in February, after weeks of rain, when the soil behind them is saturated, heavy, and pushing. The homeowner sees a bulge in the middle courses, or a wall that has started to lean out at the top, or a line of blocks that no longer runs straight. By then, the fix is a rebuild, not a repair.
Almost all of those failures share one thing: water had nowhere to go. A retaining wall is a drainage structure made of block. In Western Washington, where we sit on clay that holds water and get rain eight months of the year, that isn't a technicality. It is the whole job. At Kairos Landscapes, we've built walls across the Puget Sound since 2013, and the ones still dead plumb a decade later are the ones where the crew spent the first two days on things you can't see in the finished photo.
Also Read
The Two-Minute Version
Retaining wall cost runs about $6,300 on average nationally, with most projects between $3,500 and $9,400, or $20 to $53 per square foot of wall face, per LawnStarter's 2026 cost data. Segmental interlocking block, the standard for residential walls here, runs $15 to $35 per square foot of material. Proper retaining wall installation runs in order: evaluate the site and the soil, lay out the wall, excavate a trench well below finished grade, build and compact a level base of crushed aggregate, set a buried first course dead level, then stack courses with clean drainage rock and a perforated pipe behind the wall and filter fabric separating that rock from native soil.
Taller walls and those carrying a load above them get geogrid tied back into the slope at engineered intervals. Caps go on last. Across King County, a wall over four feet, or a wall carrying a driveway or structure above it, generally requires a permit and engineered plans. The first course and the drainage decide whether a wall survives, and both disappear the moment the job is finished.
It Starts With the Site, Not the Wall
Before anyone talks about block colors, the wall needs a reason to exist and a read on what it holds back.
Good retaining wall design begins with questions about load and water. What sits above the wall — lawn, a slope that keeps climbing, a driveway, a structure? Anything that adds weight behind the wall is a surcharge, and it changes the engineering entirely. Where does water move across this property during a hard November rain, and where will it go once a wall interrupts that path? What's the soil doing — native clay, fill from the original grading, or something previous owners trucked in?
Tiering comes up here, too. Two shorter walls stepped back from each other often outperform one tall wall and can keep a project under the height that triggers engineered plans. But the offset between tiers has to be real; set them too close, and the upper wall becomes a surcharge on the lower one.
Excavation and Base: The Part Nobody Photographs
The trench goes deeper than homeowners expect. Part of the wall belongs below finished grade, buried, because that embedment helps keep the base from kicking out under pressure. Excavation runs $50 to $200 per cubic yard as a line item, so a deep trench is real money, and it's money worth spending.
The crew places crushed aggregate into that trench in lifts, compacting each layer before adding the next. A base dumped in and raked flat without compaction settles unevenly, and every course above it inherits that settlement.
Then the crew sets the first course, levels it across the entire run, and checks and rechecks. This is the slowest part of retaining wall construction and the least impressive to watch. It also determines whether the twentieth block still sits true. A first-course error of a quarter inch across ten feet compounds all the way up.

Drainage: Where Walls in This Climate Live or Die
Behind a correctly built wall sits a column of clean, open-graded drainage rock running the height of the wall, not native backfill shoveled against the block.
At the bottom of that column sits a perforated drain pipe with a path to somewhere water can actually go: daylight at the end of the run, a catch basin, a storm connection. A drain pipe terminating in a dead end behind the wall is decorative.
Filter fabric separates the drainage rock from the native soil. Without it, fine clay particles migrate into the rock over successive wet seasons and gradually clog the voids that make it drain. The wall works beautifully for three years, and then it quietly stops.
The physics here is unforgiving. Saturated soil weighs substantially more than dry soil and exerts hydrostatic pressure no one designed the wall to resist. Give the water a path out, and the wall only has to hold back dirt. Trap it, and the wall fights something it will eventually lose to.
Geogrid and the Walls That Need It
Past a certain height, or under a surcharge, stacked block alone isn't enough, no matter how well drained it is. The wall needs a mechanical tie into the soil it retains.
Geogrid does that. Crews lay sheets of high-strength mesh between courses at specified intervals, extending them back into the compacted fill, tying the wall and a wedge of soil behind it into one connected mass. The spacing, the length of the grid runs, and the compaction of the fill between layers all come from the engineering, not from a rule of thumb.
If a contractor is quoting a wall tall enough to need geogrid and the conversation hasn't included it, stop and ask why.

Permits, Engineering, and Critical Areas
Requirements vary by jurisdiction, so always check with your own city, but the shape of the rule holds across King County. The county exempts most retaining walls four feet high or less from a building permit, and jurisdictions measure that four feet from the bottom of the footing to the top of the wall.
A surcharge changes the math, and a wall carrying a driveway or a structure above it may need a permit even if it's under four feet. For a wall that does need one, a licensed Washington engineer must stamp the structural plans. Lake Forest Park's retaining-wall checklist is a representative example of how King County jurisdictions lay this out.
Properties in landslide, steep-slope, or erosion-hazard areas are a separate matter, and they often require geotechnical review regardless of wall height. A great deal of this region sits in mapped critical areas, so this comes up more often than people expect.
An unpermitted wall isn't just a code problem. It can surface during a sale and leave you with a stop-work order or a removal order partway through a project.
Caps, Finishes, and Living With the Wall
Capping is the final structural step, and it does more than it looks like. Caps shed water off the top of the wall instead of letting it run down into the courses, and crews adhere them rather than simply setting them in place.
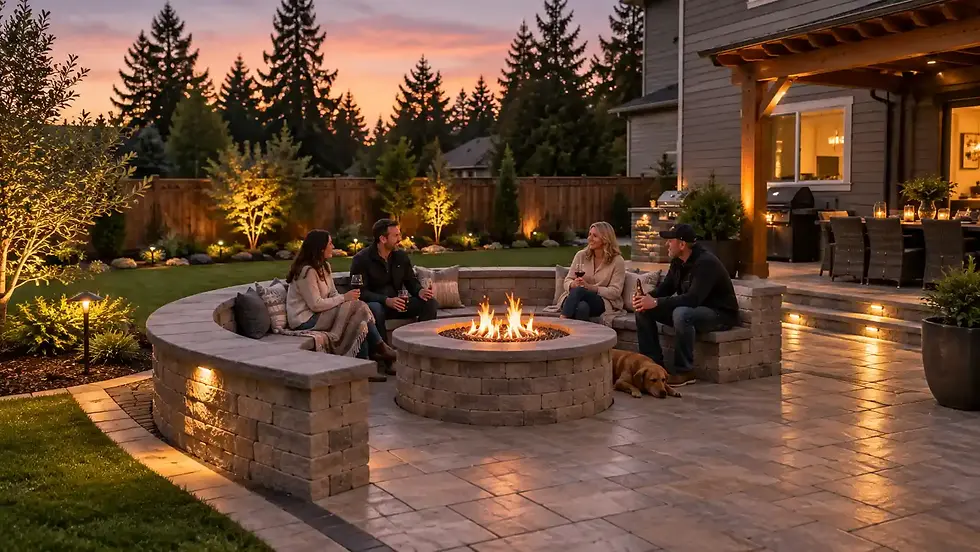
Here, a wall becomes part of the landscape rather than an engineering object sitting in it. A seat-wall-height course along a patio, a step run worked into the face, lighting sleeved in during construction rather than retrofitted later, planting pockets above: these turn a necessary structure into something the yard is designed around.
Maintenance afterward is light. Keep the drain outlet clear, watch for anything redirecting water toward the wall, and check the wall line once a year after a wet stretch. A wall built on a compacted base with real drainage shouldn't move. Ours carry a 15-year installation warranty.
Planning a Retaining Wall Installation in the Puget Sound
If a slope is eating your usable yard, you have a soggy low corner, or a wall has started to lean, the fall and winter months are a good time to plan the work, because this season shows you exactly where the water goes.
Kairos Landscapes designs and builds retaining walls throughout Maple Valley, Renton, Black Diamond, Covington, Issaquah, and the surrounding Puget Sound area, with in-house crews and CMHA-certified installers.


Comments